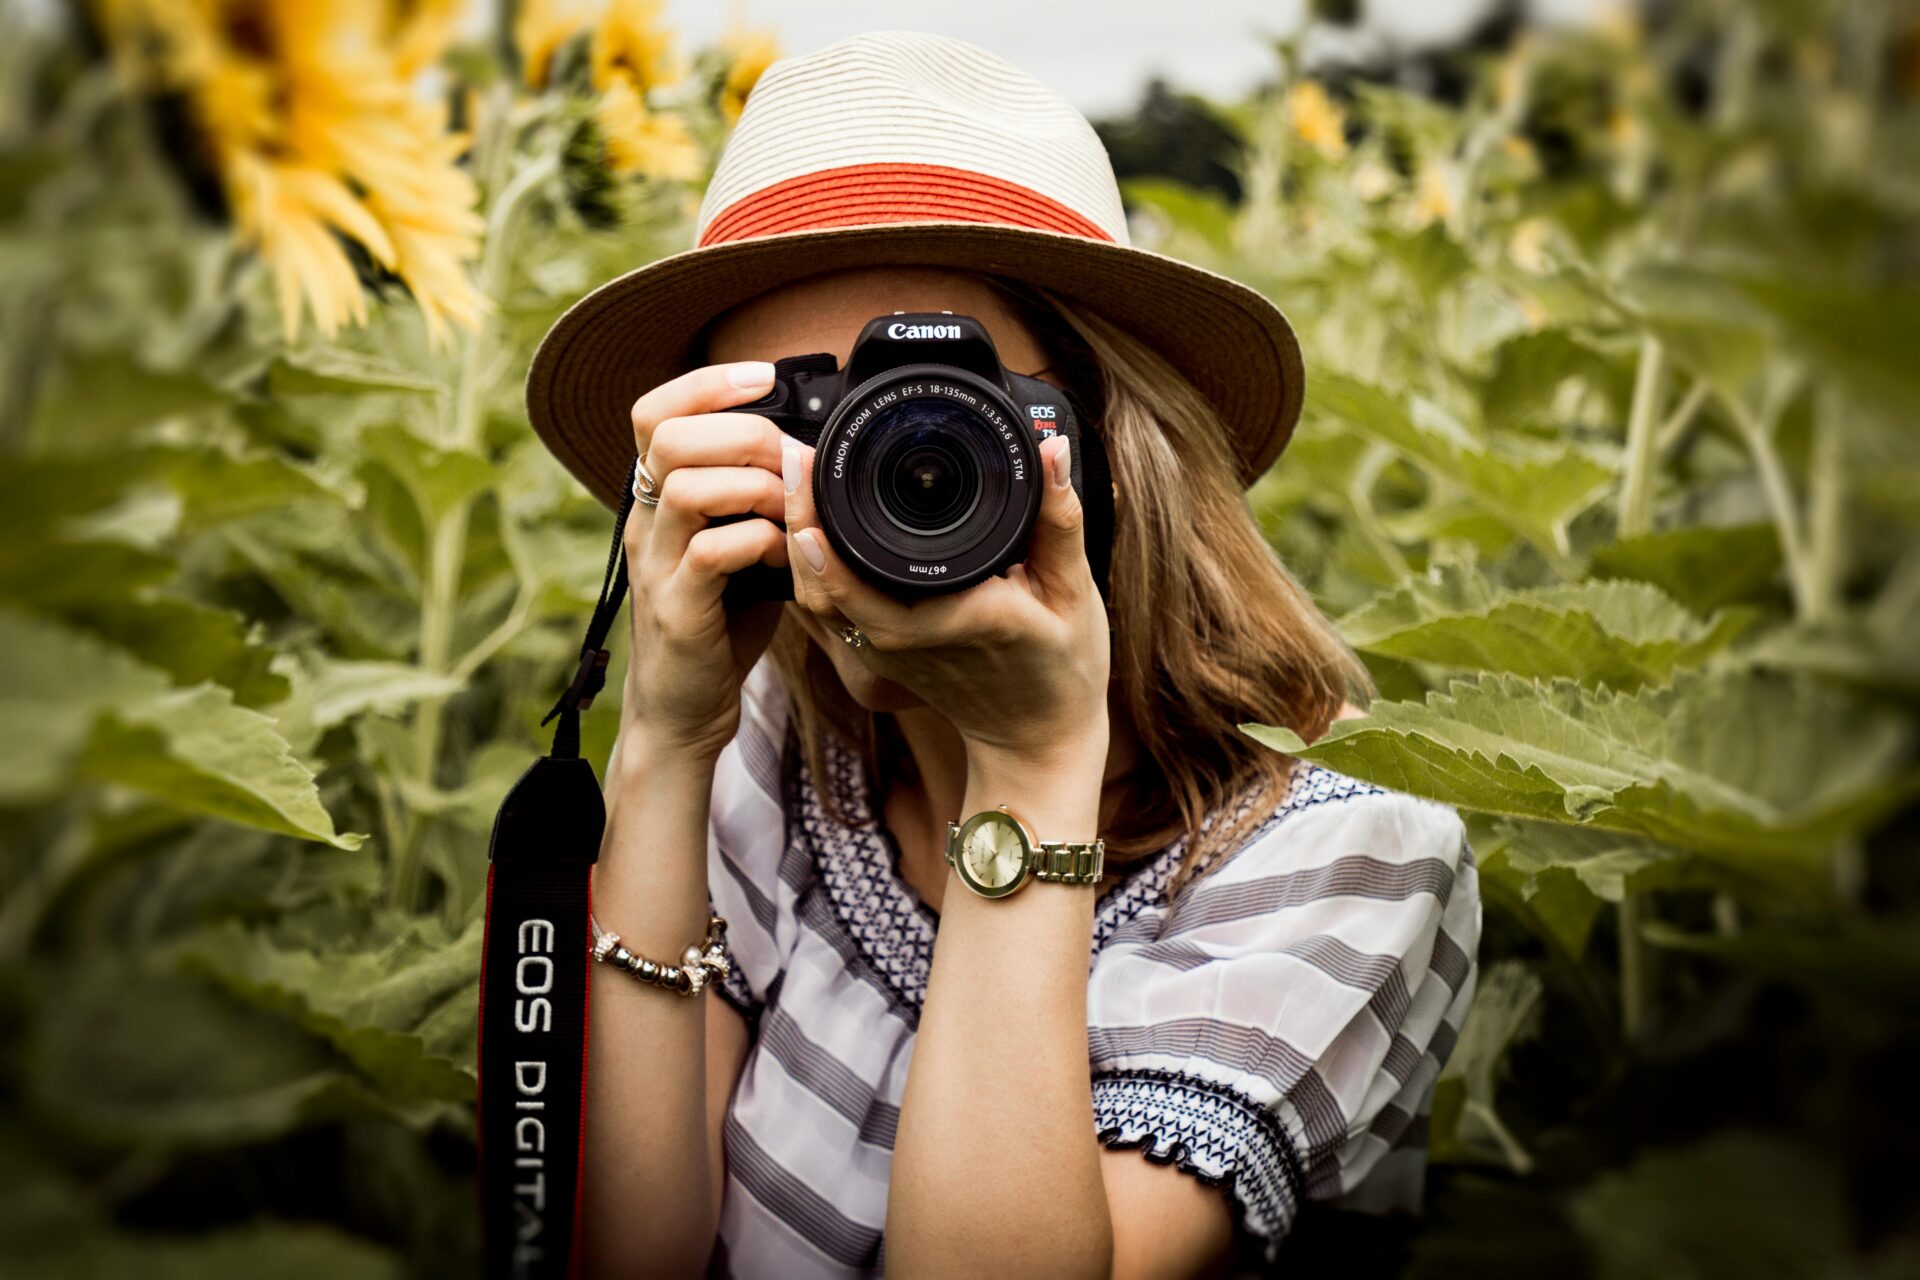
Photography can seem overwhelming to beginners, especially when trying to grasp technical terms like aperture, ISO, and shutter speed. However, understanding these three essential elements is crucial for taking better pictures. This comprehensive guide will break down each concept in simple terms, helping beginners gain confidence with their cameras and start capturing amazing photos.
1. Understanding Aperture
Aperture refers to the size of the opening in a camera lens through which light passes to reach the camera sensor. It is measured in f-stops (e.g., f/2.8, f/5.6, f/11), and these numbers may seem counterintuitive at first. Here’s how it works:
- A lower f-stop number (e.g., f/2.8) means a larger aperture, allowing more light to enter the camera. This is ideal for low-light conditions or when you want to create a shallow depth of field (blurry background).
- A higher f-stop number (e.g., f/16) means a smaller aperture, allowing less light in. This is useful for shooting in bright conditions or when you want more of your scene to be in focus (landscapes, for example).
Practical Example: If you’re photographing a person against a busy background and want the background to be blurred, you would choose a lower f-stop (e.g., f/2.8). This isolates the subject and makes them stand out.
2. What is Shutter Speed?
Shutter speed refers to the amount of time the camera’s shutter remains open to allow light to hit the sensor. It’s measured in seconds or fractions of a second (e.g., 1/200, 1/1000, 1″, etc.).
- Fast shutter speeds (e.g., 1/1000): Useful for freezing action in sports, wildlife photography, or any fast-moving subject.
- Slow shutter speeds (e.g., 1/10 or 1″): Best for low-light situations, long-exposure photography (e.g., capturing light trails or smooth water), and creating motion blur.
Practical Example: If you’re capturing a fast-moving car, you’ll need a fast shutter speed, like 1/1000, to avoid a blurry photo. On the other hand, if you’re photographing a waterfall and want the water to appear smooth and flowing, you would use a slower shutter speed (like 1″).
3. What is ISO?
ISO measures the camera sensor’s sensitivity to light. Lower ISO values mean less sensitivity, while higher values make the sensor more sensitive to light. However, there’s a trade-off: higher ISO settings can introduce noise (graininess) into your photos.
- Low ISO (e.g., ISO 100 or 200): Ideal for bright conditions like outdoor daylight, ensuring clear, high-quality images with little noise.
- High ISO (e.g., ISO 1600 or above): Useful for low-light conditions, such as indoor or nighttime photography, but it may cause your images to appear grainy.
Practical Example: If you’re shooting outdoors on a sunny day, keep your ISO low (around 100). In contrast, if you’re shooting indoors at night and there’s not much light, you may need to increase the ISO (800 or higher) to get a well-exposed image.
4. The Exposure Triangle: How Aperture, Shutter Speed, and ISO Work Together
Aperture, shutter speed, and ISO are collectively known as the Exposure Triangle. Each element affects the exposure (brightness or darkness) of your image, and they are all interconnected. If you change one setting, you may need to adjust the others to maintain a balanced exposure.
- Aperture affects depth of field (the area of the image that is in focus) and how much light enters the camera.
- Shutter Speed affects how motion is captured and how long the sensor is exposed to light.
- ISO affects the sensor’s sensitivity to light and the amount of noise in the image.
By mastering the Exposure Triangle, you can achieve the correct exposure for your photos, no matter the shooting conditions.
5. Using Your Camera’s Modes
Modern cameras have various modes that help you control aperture, shutter speed, and ISO:
- Aperture Priority (A or Av): You set the aperture, and the camera automatically adjusts the shutter speed. This is useful when you want control over depth of field but not worry about shutter speed.
- Shutter Priority (S or Tv): You set the shutter speed, and the camera adjusts the aperture. Use this mode when you need to control motion, like freezing fast action or capturing motion blur.
- Manual Mode (M): You control both the aperture and shutter speed, giving you full creative freedom. It’s the best mode for more advanced photographers or when you want complete control over exposure.
- Auto ISO: When using manual mode, you can set the ISO to Auto, allowing the camera to adjust the sensitivity based on available light. This is useful when you want control over aperture and shutter speed but don’t want to worry about constantly adjusting ISO.
6. Practical Tips for Beginners
- Experiment: Don’t be afraid to play around with different settings. Start by using Aperture Priority or Shutter Priority mode and observe how changing one setting affects the image.
- Check Your Exposure: Most cameras have an exposure meter to help you determine if your image is overexposed (too bright) or underexposed (too dark). Learn to rely on this tool to achieve well-balanced photos.
- Use a Tripod: For slow shutter speeds (especially in low-light conditions), a tripod will help avoid camera shake, ensuring your images are sharp.
- Learn from Mistakes: Review your photos to understand what worked and what didn’t. If a photo is too bright or dark, think about how you could adjust the aperture, shutter speed, or ISO for a better result.
Understanding the basics of aperture, shutter speed, and ISO is crucial for any beginner looking to improve their photography skills. These three elements form the foundation of controlling exposure and help you create stunning images in various lighting conditions. By practicing and experimenting with your camera’s settings, you’ll soon feel confident using manual controls and taking your photography to the next level.
