Understanding Aperture: A Complete Guide for Beginners

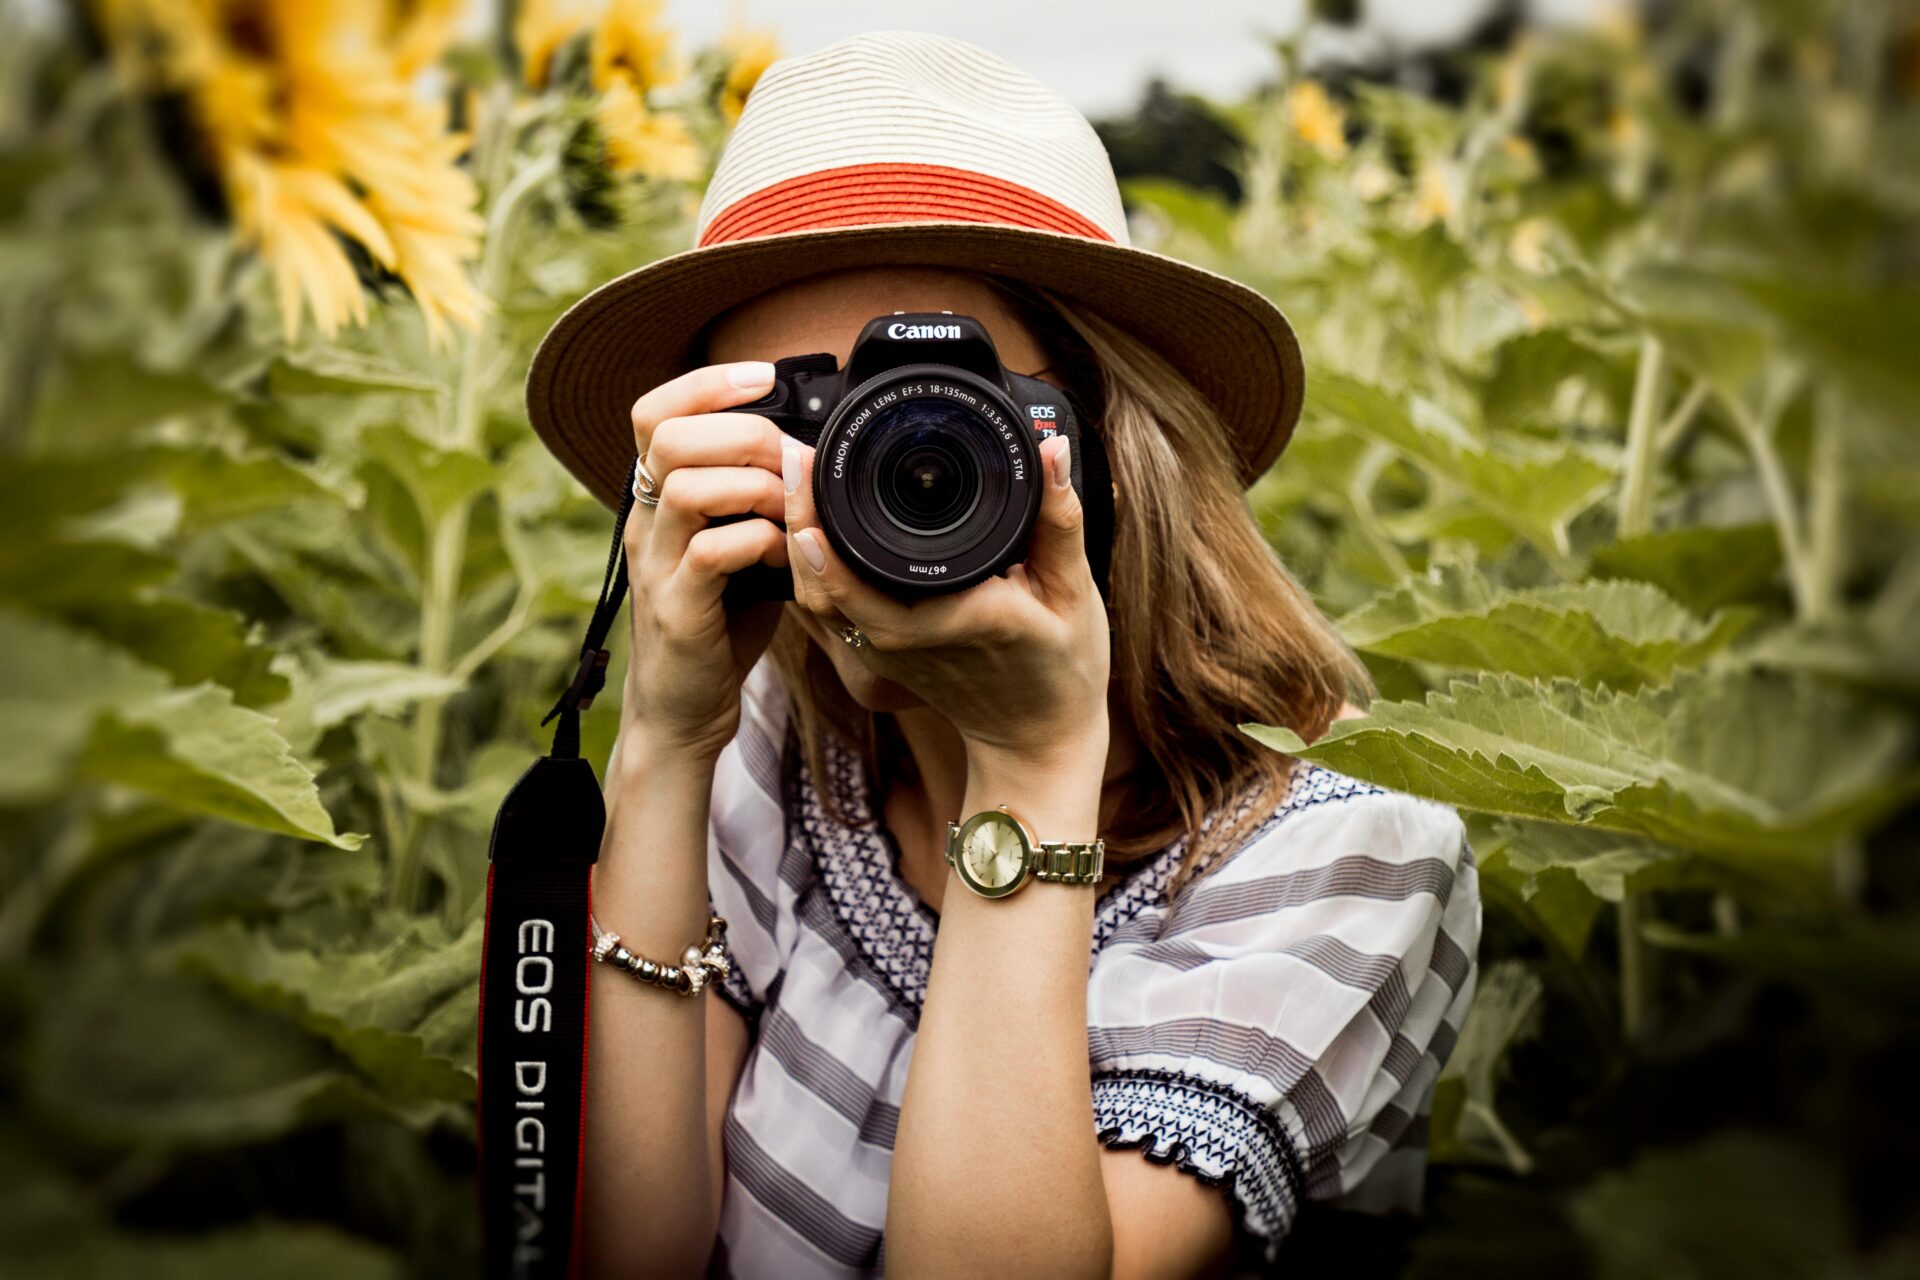
Aperture is one of the fundamental elements in photography, yet many beginners find it confusing. Learning about aperture and how to control it will not only improve your understanding of how cameras work but also help you take better, more creative photos. In this guide, we’ll break down everything you need to know about aperture, how it affects your photos, and practical tips on using it to your advantage.

What is Aperture?

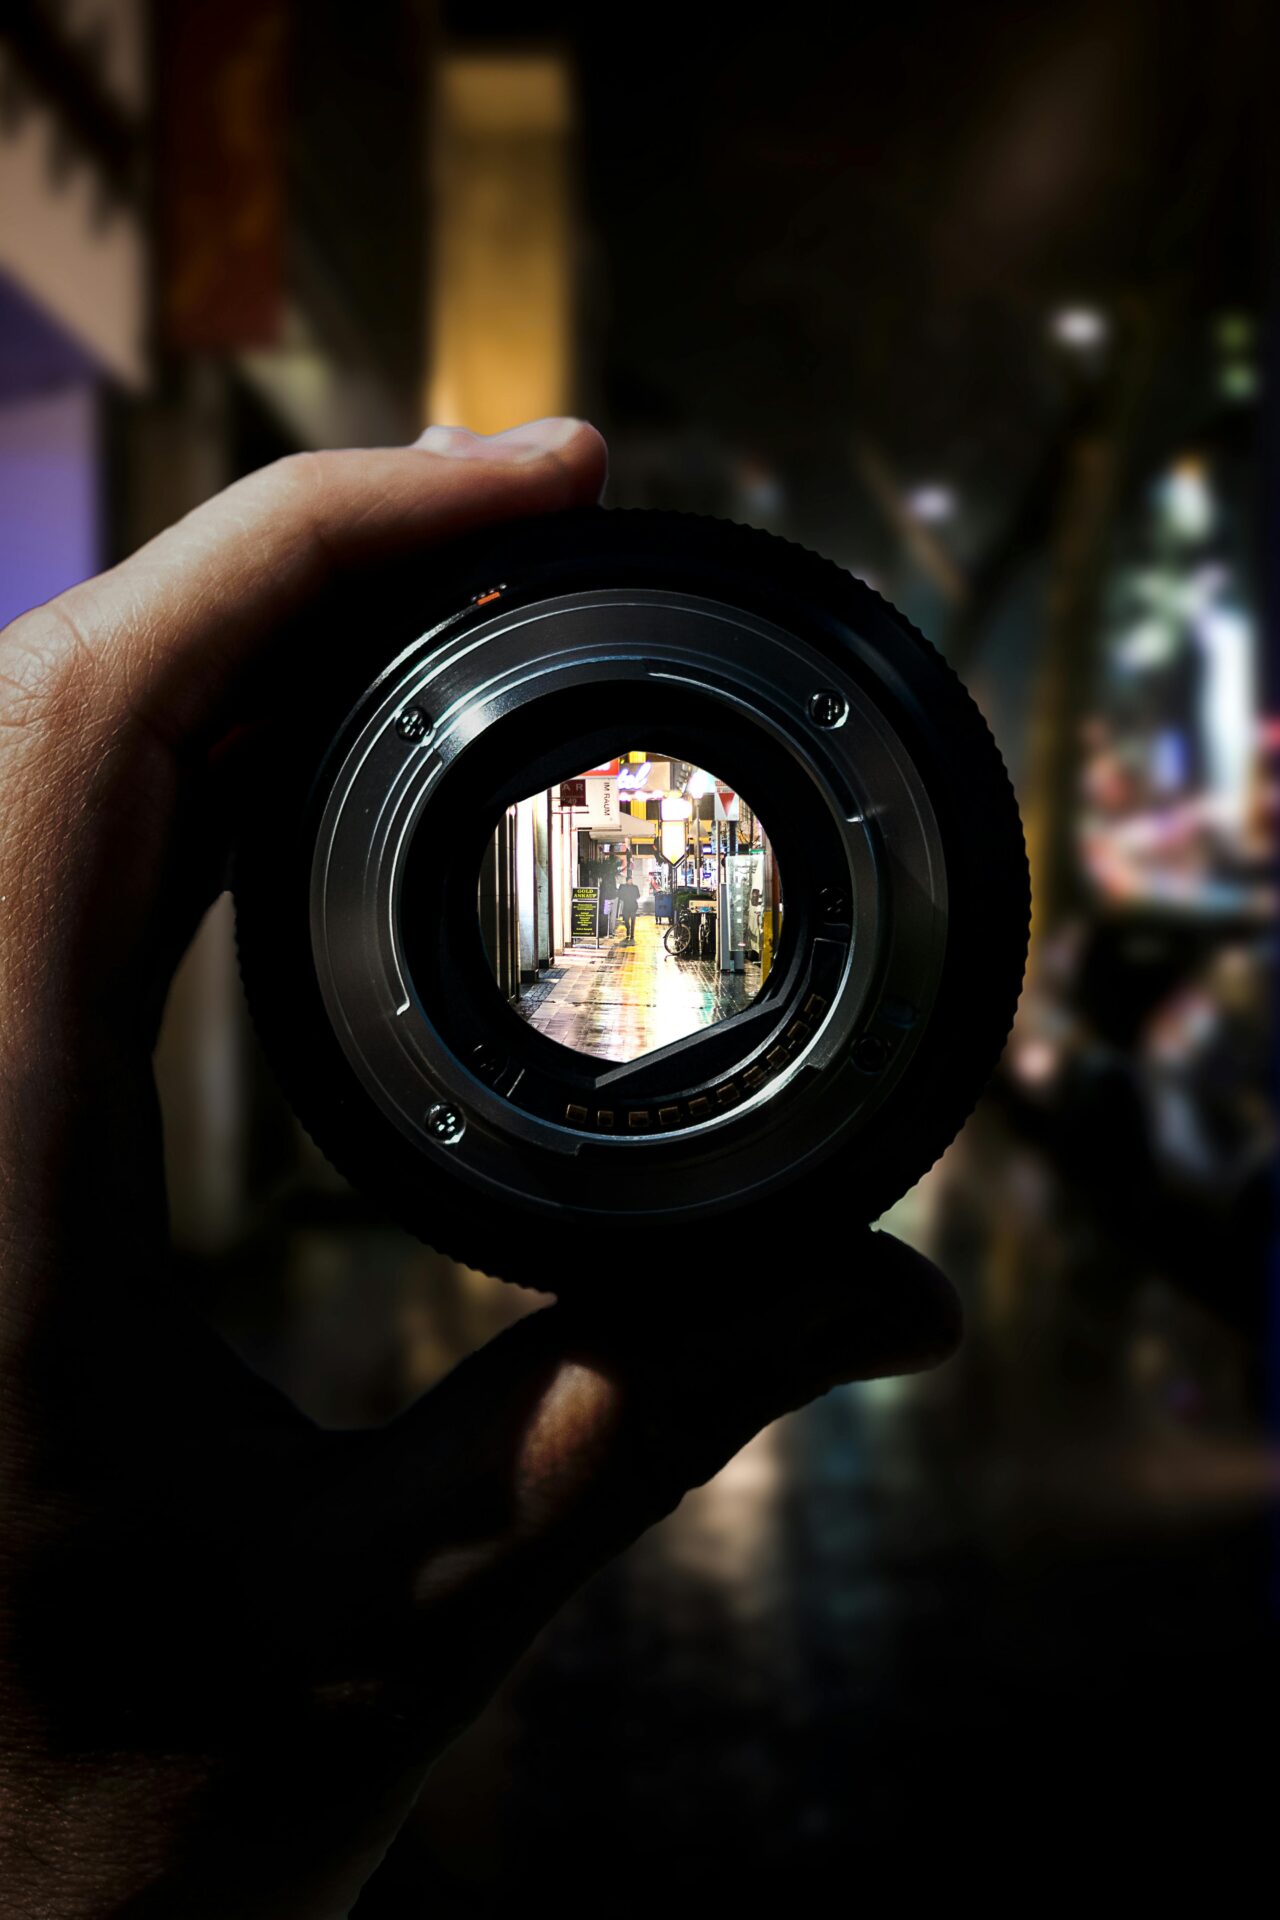
In simple terms, aperture refers to the opening in a camera lens that controls the amount of light entering the camera. It functions similarly to the pupil of an eye — when the aperture opens wider, more light passes through; when it narrows, less light is allowed in. Aperture is measured in f-stops, such as f/2.8, f/4, f/11, and f/16.

The f-stop number may seem backward to beginners. A lower f-stop number (e.g., f/1.8) means a wider aperture, which lets in more light. Conversely, a higher f-stop number (e.g., f/16) results in a smaller aperture, allowing less light to reach the camera sensor.

How Aperture Affects Exposure

Aperture plays a critical role in determining the exposure of your photograph, which is the brightness or darkness of the image. In bright conditions, you can use a smaller aperture (higher f-stop) to limit the light entering the camera, avoiding overexposed photos. In low-light conditions, a wider aperture (lower f-stop) lets more light in, preventing underexposure.

However, aperture doesn’t work alone to control exposure — it works in conjunction with shutter speed and ISO in what is known as the Exposure Triangle. Changing the aperture also affects the depth of field, another critical aspect of photography that we’ll discuss next.

Aperture and Depth of Field

Depth of field refers to how much of the image is in sharp focus. A wide aperture (low f-stop number) results in a shallow depth of field, meaning only a small portion of the image will be in focus, while the background will appear blurry. This technique is often used in portrait photography to draw attention to the subject while softening distracting backgrounds.

On the other hand, a narrow aperture (high f-stop number) gives you a deep depth of field, keeping more of the scene in focus. This is useful for landscape photography, where you want both the foreground and background to be sharp and clear.

Example of Shallow Depth of Field:

  • Portrait at f/1.8: The subject is in sharp focus, while the background is blurred, creating a pleasing effect that emphasizes the person.

Example of Deep Depth of Field:

  • Landscape at f/16: Both the trees in the foreground and mountains in the background are in focus, capturing the full detail of the scene.

How Aperture Affects Image Quality

Aperture also impacts the sharpness and quality of your image. Most lenses perform best in the middle range of apertures, such as f/5.6 to f/8. At extremely wide apertures (e.g., f/1.4), you might notice slight softness around the edges of your image, while at very narrow apertures (e.g., f/22), the image may suffer from diffraction, resulting in a loss of sharpness.

Using Aperture in Different Photography Scenarios

1. Portrait Photography

In portrait photography, a wide aperture like f/1.8 or f/2.8 is commonly used to achieve a shallow depth of field. This isolates the subject by blurring the background, giving a professional, artistic look to the image.

2. Landscape Photography

For landscape photography, a narrow aperture such as f/11 or f/16 is ideal. This ensures that both the foreground and background are in sharp focus, capturing the full depth of the scene.

3. Low-Light Photography

In low-light conditions, a wide aperture (e.g., f/1.4 or f/2.0) allows more light to enter the camera, helping to avoid underexposure without needing to increase the ISO, which could introduce noise into the image.

4. Macro Photography

For macro photography, controlling aperture is crucial to managing the depth of field. A slightly narrow aperture like f/8 can help bring more of the close-up subject into focus while still maintaining background separation.

Aperture and Bokeh

One of the artistic effects associated with aperture is bokeh — the aesthetic quality of the out-of-focus areas in an image. A wide aperture creates beautiful, smooth, blurred backgrounds, with points of light often appearing as soft, circular spots. Photographers use bokeh to enhance the visual appeal of portraits and close-up shots by adding texture and atmosphere to the background.

Aperture Priority Mode

Most cameras offer a shooting mode called Aperture Priority (A or Av). In this mode, you manually select the aperture, while the camera automatically adjusts the shutter speed for a balanced exposure. Aperture Priority is an excellent mode for beginners who want to start taking creative control of their images without worrying about setting both aperture and shutter speed manually.

Practical Tips for Using Aperture

  • Use wide apertures (low f-stop) for shallow depth of field when shooting portraits, close-ups, or in low-light conditions.
  • Use narrow apertures (high f-stop) for landscapes or when you want the entire scene in focus.
  • Experiment with Aperture Priority mode to get comfortable with adjusting aperture settings while allowing the camera to balance exposure.
  • Check the lens sweet spot: Every lens has an aperture range where it performs best in terms of sharpness. Experiment with your lens to find this sweet spot, often around f/5.6 or f/8.
  • Practice: Experimenting with different apertures in various conditions is the best way to master this concept.

Understanding aperture is essential for taking control of your photography. Whether you’re looking to achieve a beautifully blurred background for portraits, capture the fine details of a landscape, or shoot in low light, aperture is a powerful tool in your photography arsenal. As you practice adjusting aperture settings and experimenting with different f-stop values, you’ll gain more creative control over your photos and start producing stunning results.

A Comprehensive Guide to Photography Basics: Understanding Aperture, ISO, and Shutter Speed

Photography can seem overwhelming to beginners, especially when trying to grasp technical terms like aperture, ISO, and shutter speed. However, understanding these three essential elements is crucial for taking better pictures. This comprehensive guide will break down each concept in simple terms, helping beginners gain confidence with their cameras and start capturing amazing photos.

1. Understanding Aperture

Aperture refers to the size of the opening in a camera lens through which light passes to reach the camera sensor. It is measured in f-stops (e.g., f/2.8, f/5.6, f/11), and these numbers may seem counterintuitive at first. Here’s how it works:

  • A lower f-stop number (e.g., f/2.8) means a larger aperture, allowing more light to enter the camera. This is ideal for low-light conditions or when you want to create a shallow depth of field (blurry background).
  • A higher f-stop number (e.g., f/16) means a smaller aperture, allowing less light in. This is useful for shooting in bright conditions or when you want more of your scene to be in focus (landscapes, for example).

Practical Example: If you’re photographing a person against a busy background and want the background to be blurred, you would choose a lower f-stop (e.g., f/2.8). This isolates the subject and makes them stand out.

2. What is Shutter Speed?

Shutter speed refers to the amount of time the camera’s shutter remains open to allow light to hit the sensor. It’s measured in seconds or fractions of a second (e.g., 1/200, 1/1000, 1″, etc.).

  • Fast shutter speeds (e.g., 1/1000): Useful for freezing action in sports, wildlife photography, or any fast-moving subject.
  • Slow shutter speeds (e.g., 1/10 or 1″): Best for low-light situations, long-exposure photography (e.g., capturing light trails or smooth water), and creating motion blur.

Practical Example: If you’re capturing a fast-moving car, you’ll need a fast shutter speed, like 1/1000, to avoid a blurry photo. On the other hand, if you’re photographing a waterfall and want the water to appear smooth and flowing, you would use a slower shutter speed (like 1″).

3. What is ISO?

ISO measures the camera sensor’s sensitivity to light. Lower ISO values mean less sensitivity, while higher values make the sensor more sensitive to light. However, there’s a trade-off: higher ISO settings can introduce noise (graininess) into your photos.

  • Low ISO (e.g., ISO 100 or 200): Ideal for bright conditions like outdoor daylight, ensuring clear, high-quality images with little noise.
  • High ISO (e.g., ISO 1600 or above): Useful for low-light conditions, such as indoor or nighttime photography, but it may cause your images to appear grainy.

Practical Example: If you’re shooting outdoors on a sunny day, keep your ISO low (around 100). In contrast, if you’re shooting indoors at night and there’s not much light, you may need to increase the ISO (800 or higher) to get a well-exposed image.

4. The Exposure Triangle: How Aperture, Shutter Speed, and ISO Work Together

Aperture, shutter speed, and ISO are collectively known as the Exposure Triangle. Each element affects the exposure (brightness or darkness) of your image, and they are all interconnected. If you change one setting, you may need to adjust the others to maintain a balanced exposure.

  • Aperture affects depth of field (the area of the image that is in focus) and how much light enters the camera.
  • Shutter Speed affects how motion is captured and how long the sensor is exposed to light.
  • ISO affects the sensor’s sensitivity to light and the amount of noise in the image.

By mastering the Exposure Triangle, you can achieve the correct exposure for your photos, no matter the shooting conditions.

5. Using Your Camera’s Modes

Modern cameras have various modes that help you control aperture, shutter speed, and ISO:

  • Aperture Priority (A or Av): You set the aperture, and the camera automatically adjusts the shutter speed. This is useful when you want control over depth of field but not worry about shutter speed.
  • Shutter Priority (S or Tv): You set the shutter speed, and the camera adjusts the aperture. Use this mode when you need to control motion, like freezing fast action or capturing motion blur.
  • Manual Mode (M): You control both the aperture and shutter speed, giving you full creative freedom. It’s the best mode for more advanced photographers or when you want complete control over exposure.
  • Auto ISO: When using manual mode, you can set the ISO to Auto, allowing the camera to adjust the sensitivity based on available light. This is useful when you want control over aperture and shutter speed but don’t want to worry about constantly adjusting ISO.

6. Practical Tips for Beginners

  • Experiment: Don’t be afraid to play around with different settings. Start by using Aperture Priority or Shutter Priority mode and observe how changing one setting affects the image.
  • Check Your Exposure: Most cameras have an exposure meter to help you determine if your image is overexposed (too bright) or underexposed (too dark). Learn to rely on this tool to achieve well-balanced photos.
  • Use a Tripod: For slow shutter speeds (especially in low-light conditions), a tripod will help avoid camera shake, ensuring your images are sharp.
  • Learn from Mistakes: Review your photos to understand what worked and what didn’t. If a photo is too bright or dark, think about how you could adjust the aperture, shutter speed, or ISO for a better result.

Understanding the basics of aperture, shutter speed, and ISO is crucial for any beginner looking to improve their photography skills. These three elements form the foundation of controlling exposure and help you create stunning images in various lighting conditions. By practicing and experimenting with your camera’s settings, you’ll soon feel confident using manual controls and taking your photography to the next level.

Exit mobile version